Showing posts with label makeup. Show all posts

Tuesday, 4 April 2017

Primark/Penneys Come Clean Mitt - *REVIEW*


I had some time to kill on my lunch break today so like most days I hit up Penneys for a little look. I did have to pick up another bottle of my favourite Garnier Miccellar Water (the pink one FYI) so that was my excuse for going in (like I needed one!!!).

When I spotted the 'Come Clean Mitt' with 3 in a pack for €3, I immediately threw it in my basket. I'd seen it mentioned previously on Facebook in a 'coming soon' style post. Years ago when I was reaaaaallly into blogging I was sent a Cleanse Off Mitt when they were first released and I loved that thing with all my heart, until I threw it in the wash basket one day and it was never seen again!!

Monday, 14 March 2016

Nivea Men Post Shave Balm As A Primer??

So for a while now I've seen a lot of makeup artists and beauty bloggers recommending the Nivea Men Post Shave Balm as a makeup primer. Of course I had to try it!

Monday, 23 November 2015

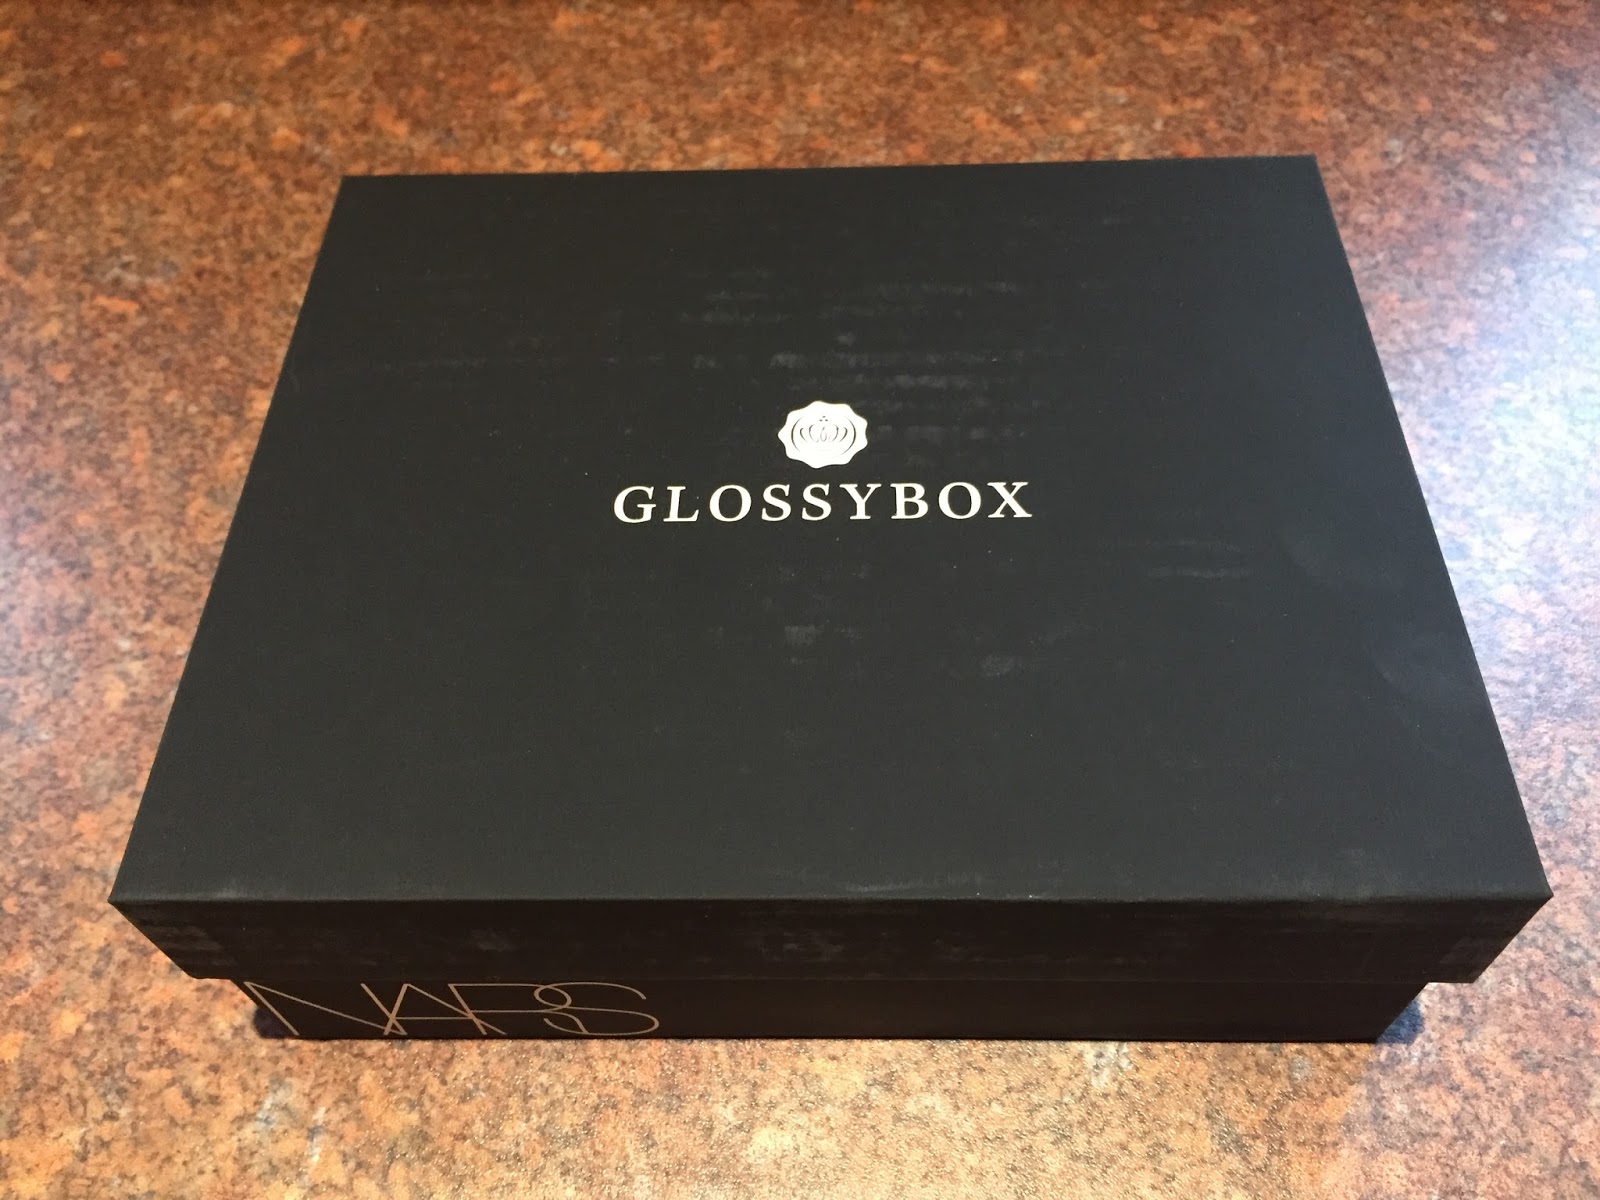
NARS Glossybox 2015!


You guuuyyyss it came! I've been waiting for this for days since getting my dispatch email. 
I do feel really bad for anyone who didn't manage to get one, I'm not going to get into that because it was a huge sh!tstorm and major drama over the issues people faced when trying to order the box. 
ANY HOO, I thought I'd do a post showing everyone what was included in the box in case you missed it.


Friday, 6 November 2015

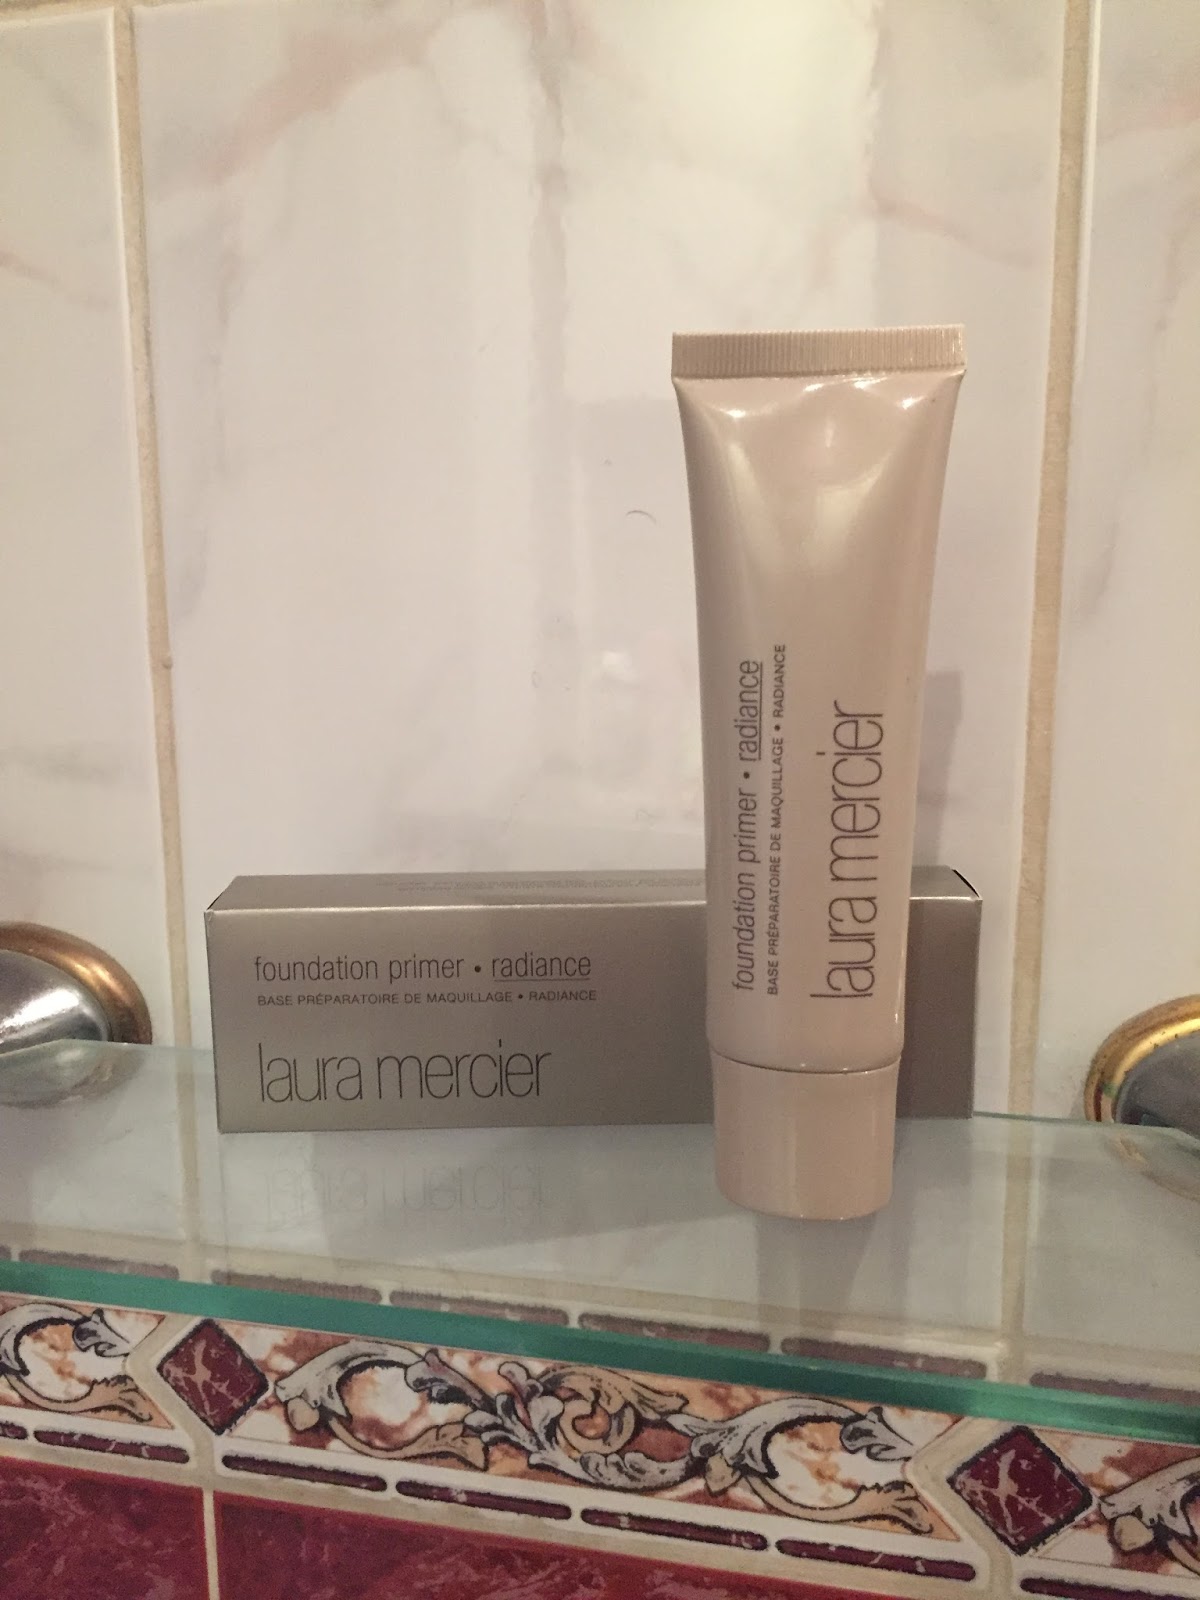
Laura Mercier Radiance Foundation Primer (REVIEW)

This is one of those products that everyone seems to rave about. I've seen mentions of it circling around the blogging world for quite a while now but I always put off buying it because of the price tag (€42 on brownthomas.com). A few weeks ago I took the plunge and ordered it, I couldn't wait until it came and had visions of how amazing my skin was going to look. 

''Laura Mercier, the pioneer of Foundation Primer, introduces a breakthrough radiant formula to the collection. Creating the ultimate canvas for foundation and makeup, Foundation Primer - Radiance provides a sheer, healthy glow to the skin.'' - BrownThomas.com

Wednesday, 4 November 2015

BOOTS HAUL


So yesterday morning I ran into Boots before I headed home to grab some dry shampoo, I had ran out a week ago and I was dying a slow and oily death without it. They had signs up everyone that it was 3 for 2 on everything... 40 minutes later and I headed to the till with a basket full of stuff. Now in my brain I was thinking, ok well if I'm buying one thing I may as well buy another thing so I had get one thing free.. You keepin' up here??? Que Emma pacing the aisles like an absolute lunatic trying to find stuff to add to my basket to maximise the savings. I was close to asking the cashier if I could do 2 separate transactions so all the expensive things could go together and the cheaper together (anyone else watch Extreme Couponers, no? ok)

Tuesday, 3 November 2015

My Current Holy Grail Beauty Products


I'm a self confessed beauty product hoarder. I will literally try ANYTHING if I see even so much as one person raving about it. I'm constantly on the quest for a perfect product so I thought I would share with you all the products I currently consider my holy grail items. The products I repurchase and rave to everyone about! 

GARNIER MICELLAR CLEANSING WATER
 This is closely followed by the L'oreal Micellar Water but I always get the Garnier version purely because its a larger bottle for a cheaper price. WHO DOESN'T LOVE A BARGAIN. I love their mini version also, its so handy to throw in a bag for travelling or staying at a friends house! It removes every trace of makeup in a matter of minutes without too much vigorous rubbing.


Saturday, 5 October 2013

eBay Makeup Brushes - Beginner, Travel or Christmas Gift Brush Set


hey girls/guys, for a long time now I've been lusting after the Sigma Essential 'Make Me...' sets. I just happened to be window shopping on eBay when I spotted these makeup brushes that came in a similar brush holder that the Sigma brushes come in. At €13 they were A LOT cheaper than the Sigma brushes.
Curiousity got the better of me and of course I had to order them to see how the quality was. For €13 I wasn't expecting much.
(link to item/seller at end of post)


 Because they came from Hong Kong they took about 4 weeks to get to Ireland, when they finally arrived I was plesantly surprised by the quality. I expected the hairs to be falling out once I opened it. Now I'm not saying they're MAC or Sigma quality but they're pretty damn good for the price. I did my Mams makeup for a party she was going to with these and they did a great job! 


The set comes with 13 brushes
- a powder
- a stippling brush
- an angled powder brush
- a foundation brush
- 2 eyeshadow brushes
- 1 angled eyeshadow brush
- 2 crease brushes (1 densely packed the other fluffier)
- 1 stiffer brush I like to use for applying eyeshadow under the eye
- an angled brush 
- an eyeliner brush
- a mascara spooly

They come in a leather cylinder case which can be used as 2 brush holders.
Its so handy for travelling. Because its a 'hard' case it will protect your brushes. I think it would be great if you had a more expensive set of brushes and didn't want them to get broken in your case. You can always buy the set and just use the cylinder case, its worth it for €13 for travelling.

If you're just starting out or would like a spare set of brushes for travelling etc then I definitely recommend this set. I think they'd be a great christmas gift for makeup lovers or teenage girls just starting to get into makeup. 

You can find the specific set/seller I bought from here.

Emma x

Sunday, 15 September 2013

Sleek Brow Kit Review


For a while now I've been using a dark brown eyeshadow to fill in my brows with an angled makeup brush. After about 2 years of this, I finally decided to invest in an eyebrow kit, I did buy one while I was in college from Fuschia Makeup but as my hair was pretty much black back then its become too dark for me now. 

I decided to try the Sleek Brow Kit in Dark (duuh). It comes with 2 products, a dark brown powder and a dark brown wax. The powder is used to fill in your brows and the wax to keep them in place. The kit also comes with 2 brushes (including an angled one) and a mini tweezers all for €9.50. I've used this a few times now so what did I think of it?


First of all, the packaging. I love the sleek (excuse the pun) black packaging. I do think its a lot bulkier than I expected but I guess that just means its quite sturdy and durable although I haven't dropped it (yet) so I can't comment on that aspect.


Now according to the general instructions I've heard you're supposed to apply the wax with the angled brush and then fill in your brows with the other brush with the powder. Nah nah nah this isn't how I do it.
I'd rather just stick to what I know. I prefer to apply the powder with my own angled brushes (I'm not a fan of the brushes that come in the kit, they're too small and finicky) and then apply a small amount of the wax with the small angled brush. 
I don't use much wax anyway as I dont have unruly brows so it works best for me to apply the wax last, it just seems odd to apply the wax and then put powder over it? I'm imagining the powder clumping in the wax and causing just pure grossness on the eyebrows haha.

As I mentioned above I don't like the brushes that came with the kit, the other brush (non angled) is odd. Its not like soft fluffy bristles, its got the kind of bristles you'd find on a foundation or concealor brush. 
The brushes are fine in a brow emergency but I prefer to use my own brushes.
The tweezers aren't much use either which I was disappointed about. They'd be handy for any of those stray hairs you spot in the car. They're far too stiff and so you can't grab any hair. Maybe its because they've been held together by an elastic band in the packaging and after a while, they'll loosen up but we'll see!


The powder isn't quite as dark as my usual powder but I'll get used to it. I imagine if you have darker hair than mine or black then these kits aren't for you, I do think they should introduce and extra dark kit. 

Anyway I do like this kit and will continue to use it!
If anyone wants a tutorial kind of post/video on how I fill in my eyebrows please let me know. Also I'm thinking of doing a how to grow your eyebrows post as mine were quite thin in December/January and have thickened up a lot! Let me know!

Emma xo


Friday, 13 September 2013

Real Techniques Miracle Complexion Sponge Review - Beauty Blender Dupe???


For a while now I've considered buying the beauty blender but to be honest I couldn't bring myself to pay that much for a sponge.
So while browsing Cloud10Beauty website I spotted a HUGE ad on their homepage advertising the new Real Techniques Miracle Complexion Sponge, I didn't even know RT were coming out with a beauty blender dupe so of course I had to go have a gawk. When I spotted the price €5.99 I had to add it to my basket!


My packaging got a little bashed up in the post!


 The sponge itself is quite a unique shape compared to the Beauty Blender, it has a flat side which is great for getting under the eyes and the sides of the nose.

To use, you basically hold the sponge under water, you do have to hold it for about a minute for it to expand fully and then you squeeze the water out, I also placed it in a towel and squeezed to make sure it was just slightly damp, not wet.

Then I squirted my foundation onto the back of my hand, patted the sponge on top and started to work it onto my face. I bounced the sponge along my skin occasionally 'rubbing' along my hairline to blend. 

The result? HOLY CRAP I WILL NEVER USE A MAKEUP BRUSH AGAIN.
I find blending with a brush tends to drag the foundation along my skin, leaving streaks and basically removing the makeup from my skin, I've used a buffing brush also (the sigma one) and found stippling left little dots on my makeup from the tips of the bristles. This sponge just leaves a perfect, flawless application.

I've only used it once (last night) and didn't have time to take a photo of my makeup afterwards (I was rushing out to dinner with a friend) but keep an eye out for any future makeup looks/face of the days as this sponge will definitely be used in them!

Have any of you tried either this sponge or the beauty blender? 
Are you pro makeup brushes or pro sponges?

Emma xo


Wednesday, 11 September 2013

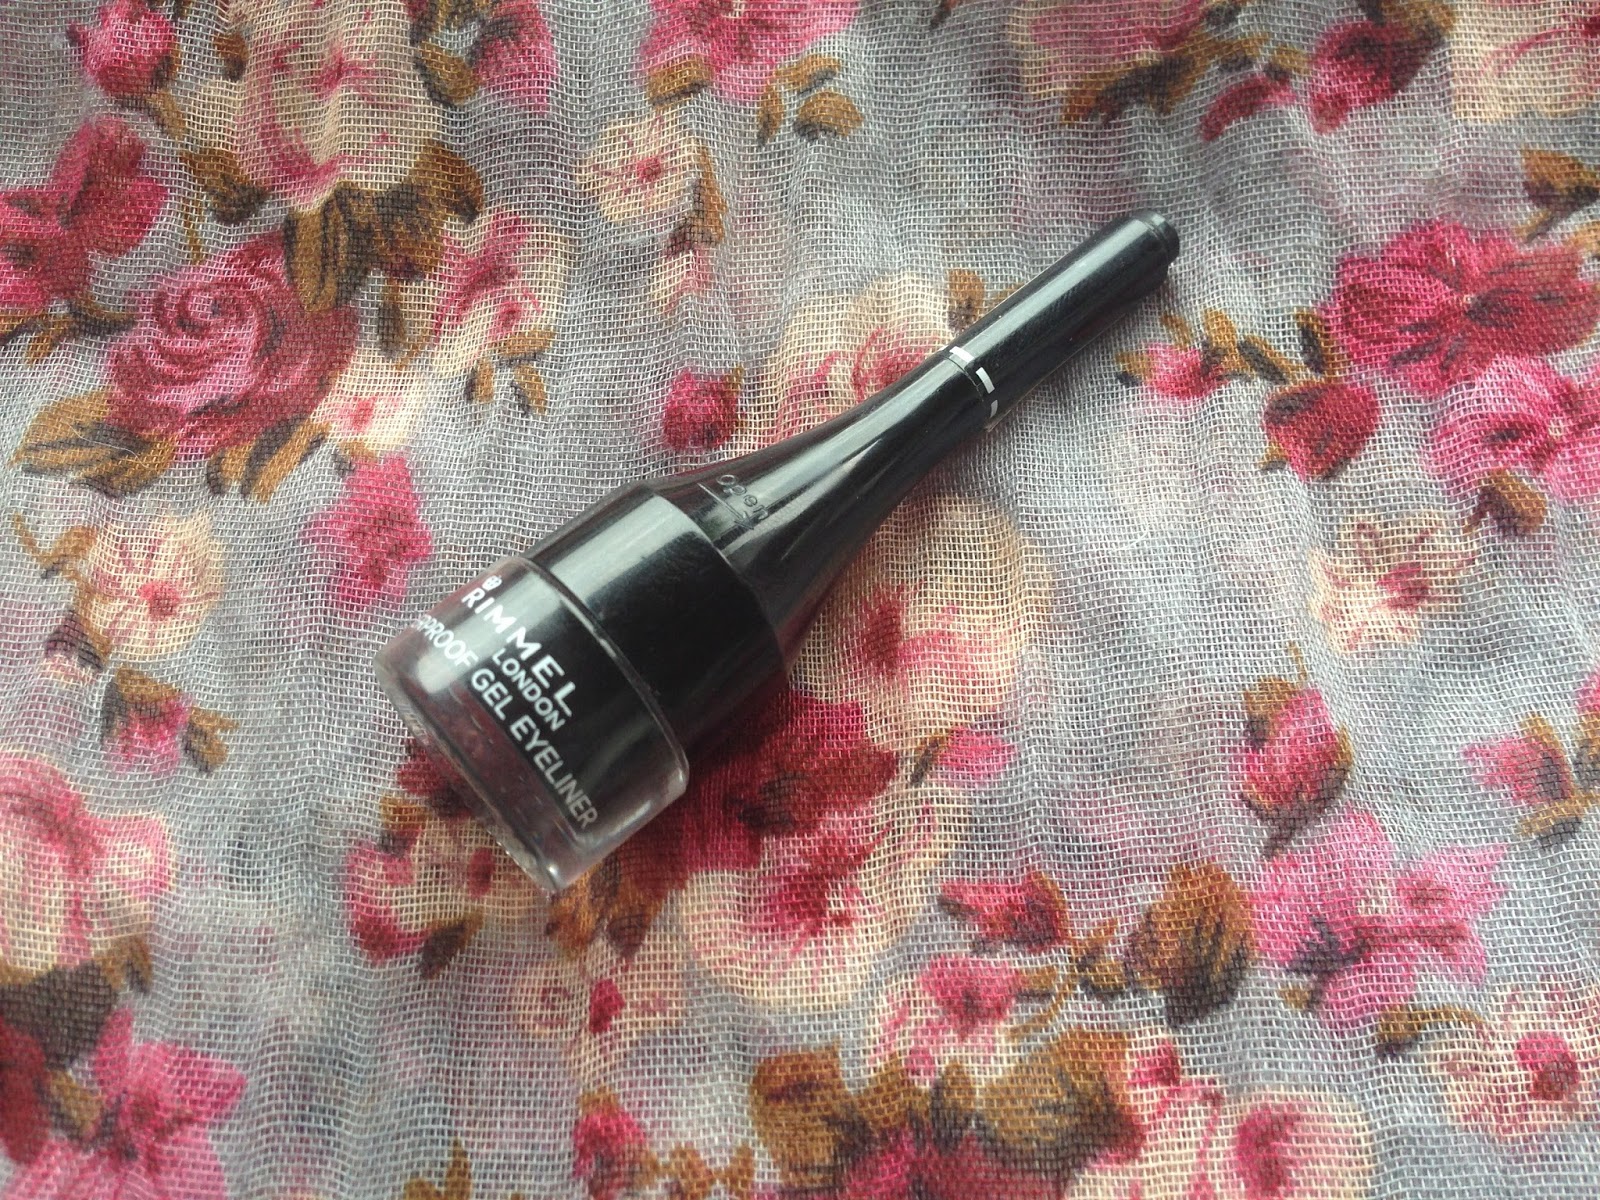
Rimmel Waterproof Gel Eyeliner


Most of you know I love my liner. I much prefer gel over liquid. I find liquid to be messy. 
For years I've been using the Essence gel liner and was devastated when it was discontinued, that loss started my hunt for a new liner. Starting with the Rimmel Waterproof Gel Liner.


*please excuse the fact the brush has been used. Bad blogger*

First off lets talk packaging. The product comes in a glass jar with a plastic oddly shaped lid. The top of the lid holds a brush. You pull the brush out, and you can attach it to the end of the lid to make a longer handle. Now, here's my problem, if you do attach it, the wide part of the lid gets in the way. If you choose not to attach it to the lid the brush is slightly too short.
I'd much prefer if it had a normal lid. I do like that a brush has been included but I wish it was separate. 


Application wise, it applies amazingly well. It glides on like a liquid with no pulling or tugging on your skin. There's no need to swirl or work the product around to soften before application. 
It does take a lot longer to dry than other gels though so you have to be careful for a few minutes after applying. It doesn't seem to last the whole day which I'm disappointed with. Especially since it claims to be waterproof. By the end of a busy work day it's faded and smudges if you touch it.
If the formula was longer lasting it would be perfect!
I'll continue to use it until I try a new one but whether I'll repurchase I'm not sure..
If any of you have any gel liner recommendations I'd really appreciate it!

Emma xo


Monday, 9 September 2013

Revlon Lip Butter Wild Watermelon*


A while ago I reviewed my very first Revlon Lip Butter, In that post I mentioned I wanted to try some of the other colours, someone in the comments mentioned Wild Watermelon. I'd been meaning to pick it up so when my friend gave me a few beauty related goodies for my birthday I was delighted to see the Revlon Lip Butter in Wild Watermelon* was included.
I am OBSESSED. Seriously oh my freakin god I love these things!
I have such dry lips so a lot of lipsticks end up going flaky looking on me.

Saturday, 7 September 2013

On My Face: Brown Metallic Smokey Eye


Hello on the rare occasion that I decided to wear eyeshadow I thought I'd snap a few photos to share with you all. The first two were taken before I straightened my hair and the second two afterwards, both were taken in the same spot. It weird how much the lighting changed in the space of about 30 mins!
If you want a tutorial on this look I could probably do it just let me know.

Emma xo


Monday, 1 July 2013

FOTD/FOTN: Simple Grey Smokey Eye


Hellooo my dears, god it feels like forever since I've done a proper beauty post! 


All I used for this was my Avon 6 in 1 Palette (review here) and my Urban Decay Dangerous Palette (review  here)

Foundation: MAC Studio Sculpt (review here)
Concealor: Benefit Fake Up
Powder: Rimmel Stay Matte
Bronzer: Rimmel 
Gel Eyeliner: Essence
Lips: MAC 'Syrup'
Blush: Dainty Doll 'My Girl' (review here)

See you next week 
Emma xo

Tuesday, 7 May 2013

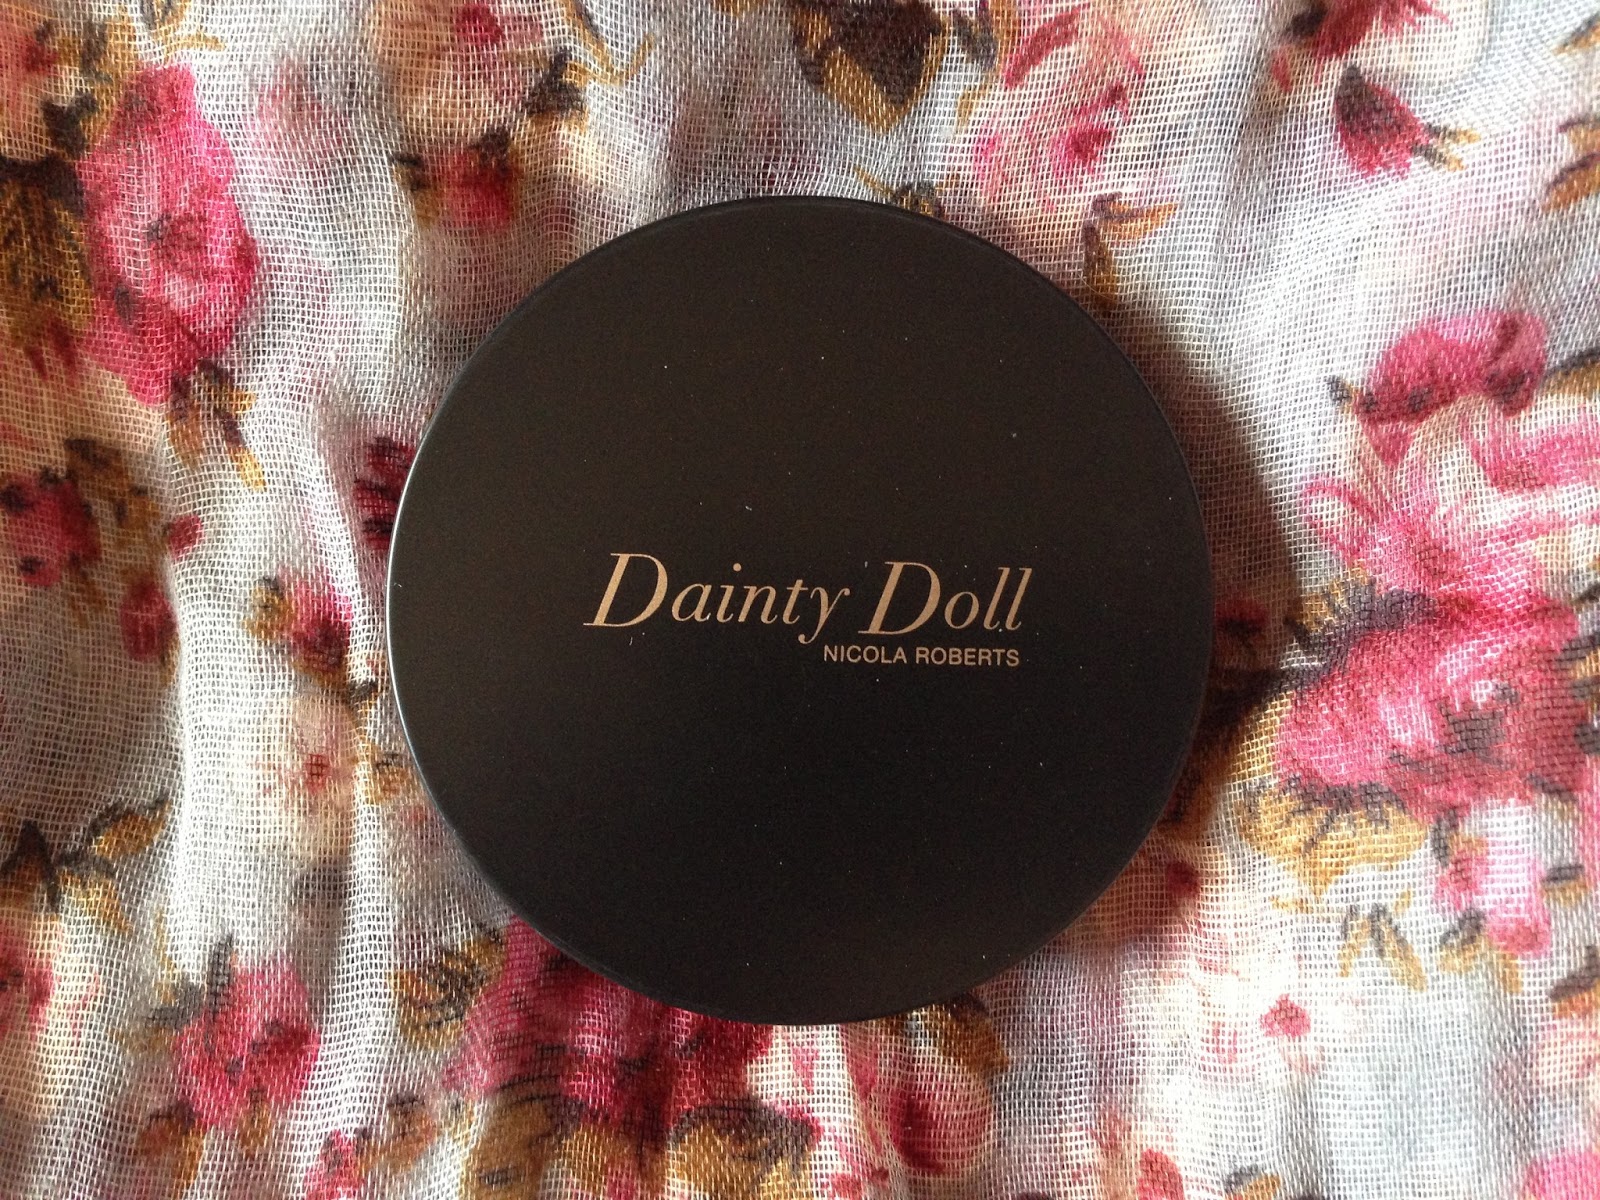
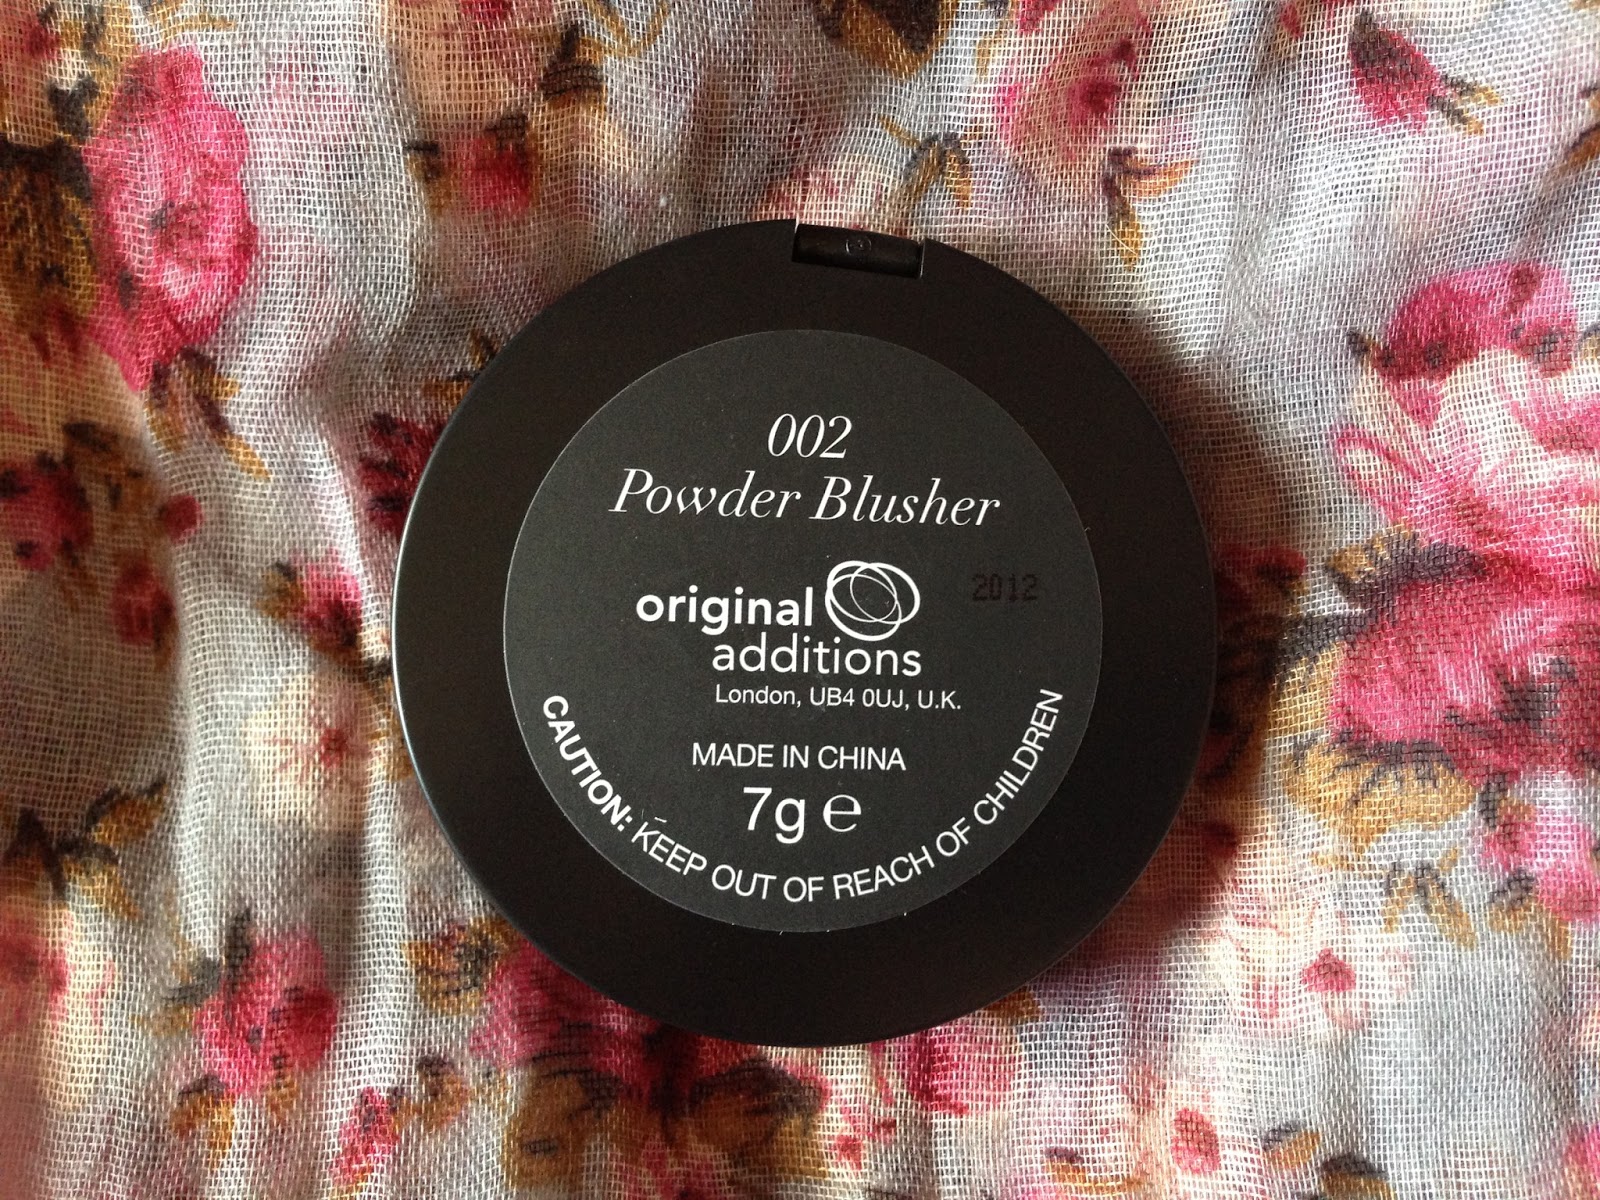
Dainty Doll Blush - My Girl 002


A while back I ordered some stuff from Cara Pharmacy and this blush was one of the items. I thought the colour was gorgeous and I needed a new 'everyday' blusher because my MAC Mineralize one in Dainty had run out. I had literally scraped the last bit from the edge of the empty pan. 


Saturday, 27 April 2013

Dainty Doll Lipstick in Baby Love (006)


In a previous post I mentioned that CaraPharmacy.com had a huge sale including loads of Dainty Doll products. One of the items I got was this lipstick. I don't have a proper nude lipstick so I decided to try the shade 'Baby Love' (anyone else think of that Nicole Sherzinger song????). Plus it was only €1.50! Bargain!


Wednesday, 24 April 2013

Garnier 2 in 1 Makeup Remover


For the first time ever, I have no idea how to start this post. 
Well.. thats weird.
Lets just be awkward and start straight into it.

2 in 1 refers to the fact that this makeup remover is both an oil based and a water based remover. 


The top blue colour is the oil based remover and the clear liquid is the water based remover. To use, you basically shake the bottle to mix them together and squirt it onto a cotton pad. It doesn't feel oily, it just feels like a regular liquid makeup remover.

Because of the oil, this does a really good job removing eye makeup, particularly waterproof mascara. Its literally a life saver for me at night. Usually I have to scrub at my eyes for ages until I give up and go to bed with mascara and eyeliner still on my eyes. AINT NOBODY GOT TIME FOR SCRUBBING. 

The one negative thing I do have to say is it does leave a greasy oil film on your face after using it. I just use a cotton pad soaked in toner to remove it so its alllll goooood. 

It is a really good makeup remover is you wear a lot of eye makeup and I probably will get another bottle when this ones all gone.

Whats your go to makeup remover??


Monday, 22 April 2013

American Flag Makeup Look ft Violent Lips


Yesterday, you may have seen the guest post I posted from the lovely Sammie from LittleBlondeLife. On the same day, she posted a guest post from me on her blog. 
I decided to share that post on here too. Make sure to go check out Sammies blog though too!

So a few days ago, I won a set of Violent Lips transfers from the company on twitter. I chose the  American flag. I decided to try and do a makeup look featuring these transfers.

This was my inspiration:


Also I've been OBSESSED with Lana Del Reys song National Anthem lately so I just had to do this makeup look! Seriously I've listened to it over 100 times, I've also tweeted the lyrics over and over again. I have a problem I know..
Each violent lips comes with 3 transfers in a pack.


To use, you just place them against your lips, and trim to fit. They're very large so they fit all lips sizes. You then just remove the plastic, place it on your lips and press against the paper back using wet cotton. Similar to how you'd apply those tattoos you'd get as a child! 
They are quite tricky to apply so mine were a bit of a mess.. oops. I was home alone when I was doing these, so I was absolutely TERRIFIED someone would knock the door and I'd have to answer like this! 


Because my lips were a bit.. BAM! I wanted to keep my eyes simple, I just did a simple cat liner flick on top and then used a white, red and blue shadow on the bottom lash line. I do wish I'd gone a bit crazier on the eyes but 3 transfers came in the pack so I might try this makeup again, except this time go really crazy on the eye shadow! I might try to recreate the look I showed in the first photo!
I think this would be fun for something like Halloween/fancy dress or 4th of July if you live in the US. I know here in Ireland, on St Patricks Day, people tend to go a bit crazy and draw Irish flags on their faces! 


Oh and if you're interested in having a look at the violent lips. You can go to their website, they have soooooo many differrent transfers, animal prints, all kinds of country flags, glitter transfers and so many more! Below is just a card that came in my pack showing a few different transfers available. They supposedly last up to 8 hours, but I can't tell you if thats true as I took it off immediately after taking photos. It did start to crack after a few minutes though.


I hope you all enjoyed this crazy look. I know its not very 'wearable' but I enjoy looking at other bloggers/makeup aritsts crazy makeup looks!